The Campaigns
Introduction
Campaigns make it possible to centrally manage portions of the schedule that are shared across multiple stations. When a campaign is published, it is distributed to all the involved stations by inserting its contents into their respective playlists.
Within each station, one or more advertising spaces can be created for campaigns. Each campaign can then individually decide how and in which advertising spaces its contents should be published.
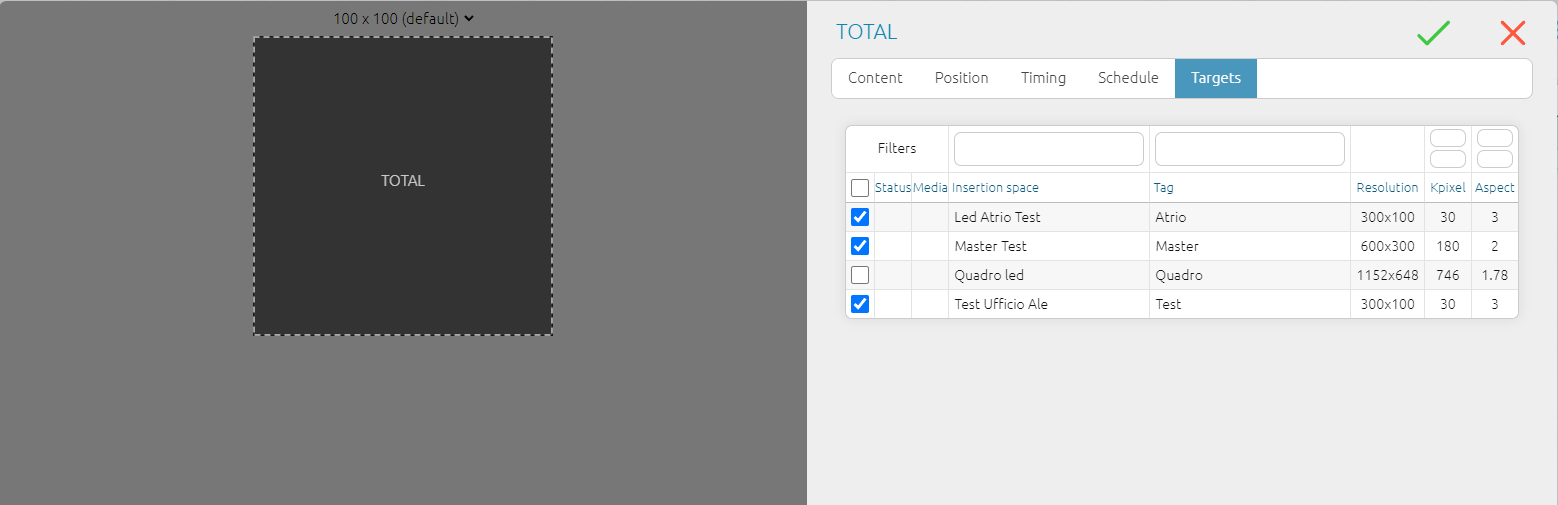
Insertion spaces to be targeted can be identified either through direct selection or through filtering (by name, tag, kpixel, aspect ratio).
Situations where insertion spaces have different sizes and proportions can be easily managed by applying differentiated filtering within the playlist.
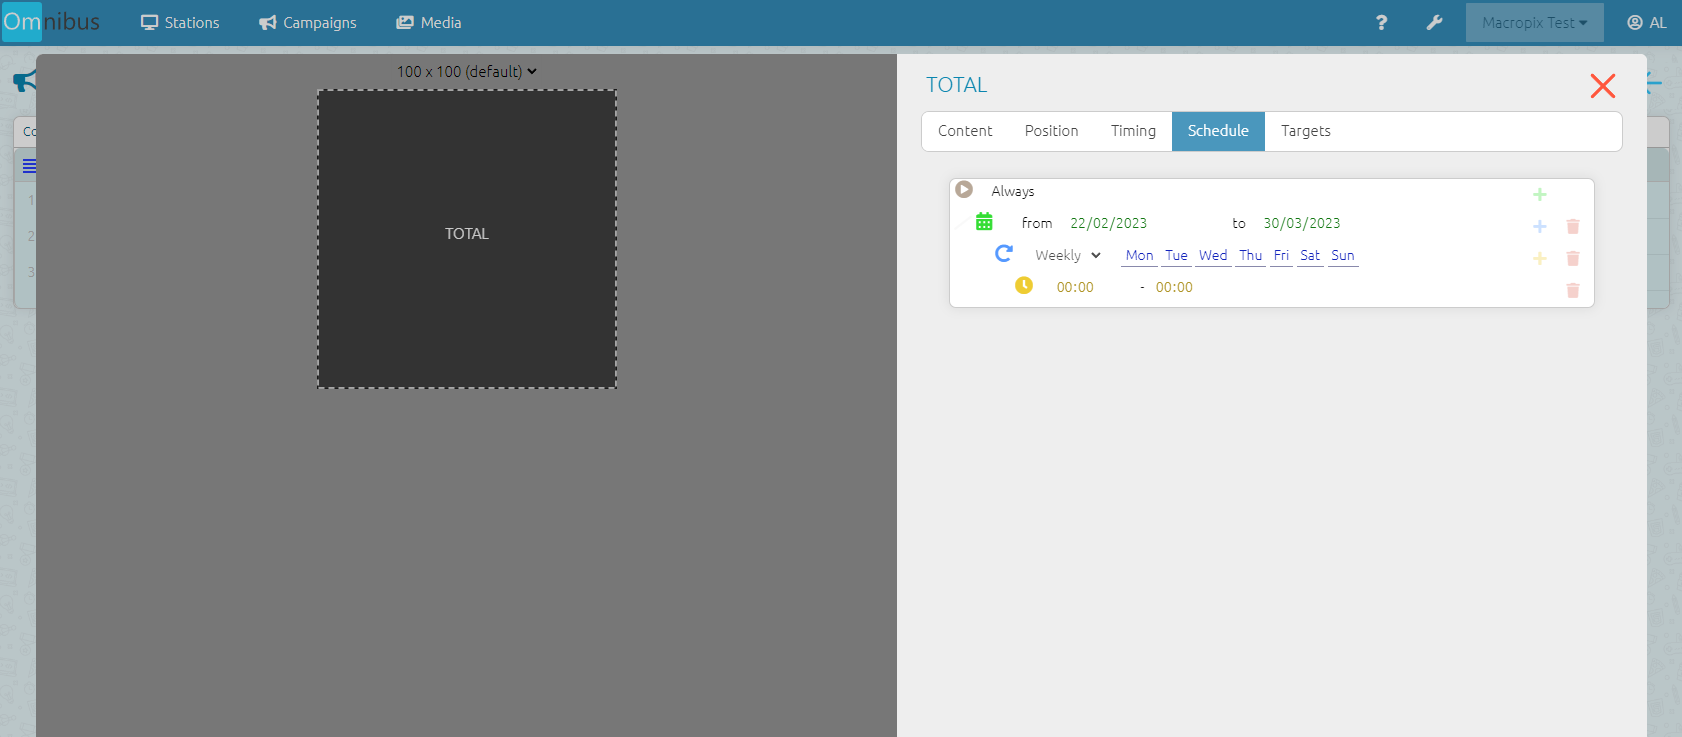
A campaign always includes a start date and an end date, although these dates can be changed with each new publication.
Campaign Creation
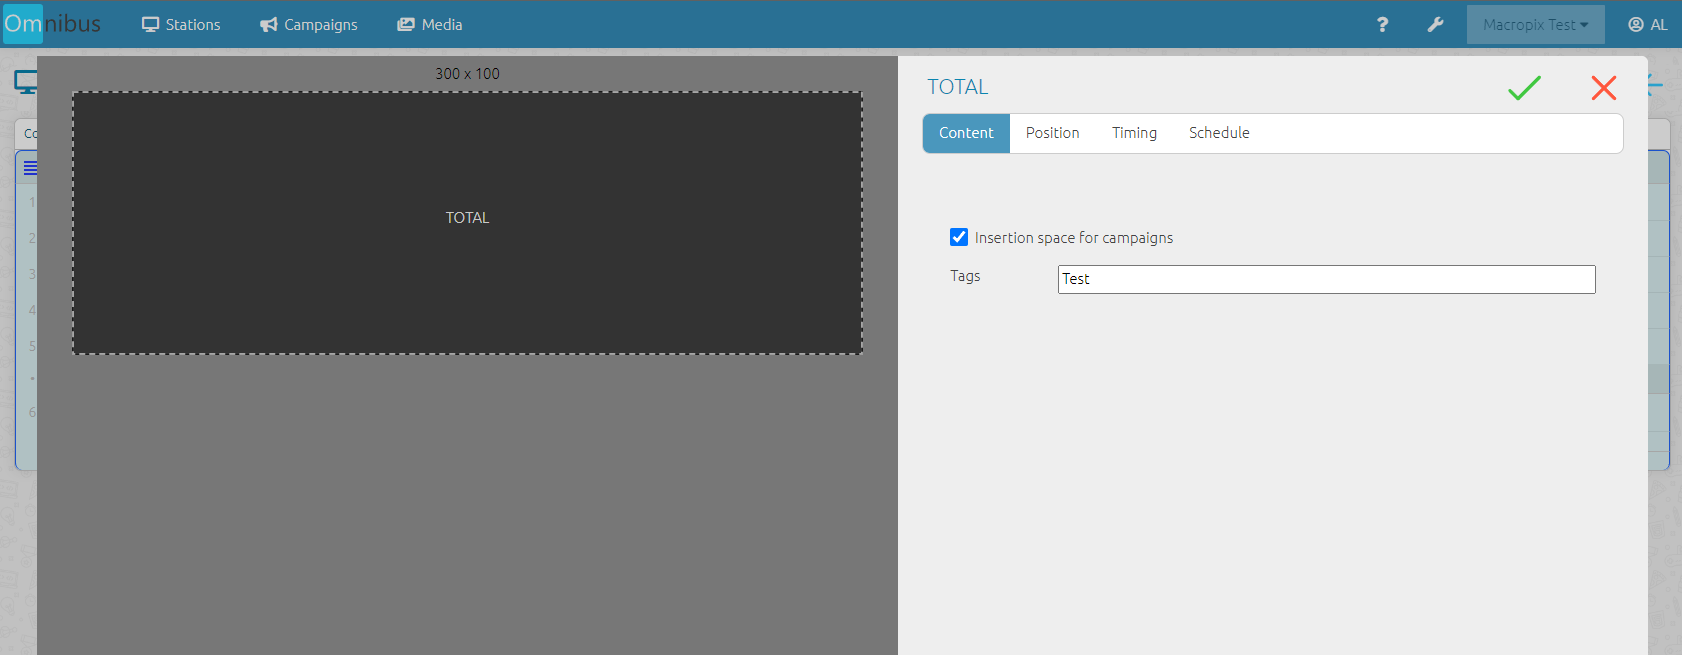
As before, the insertion spaces must be created on each station by enabling the corresponding flag, as shown in the image.
This operation can be performed on both “Total” and “List” elements within the playlist.
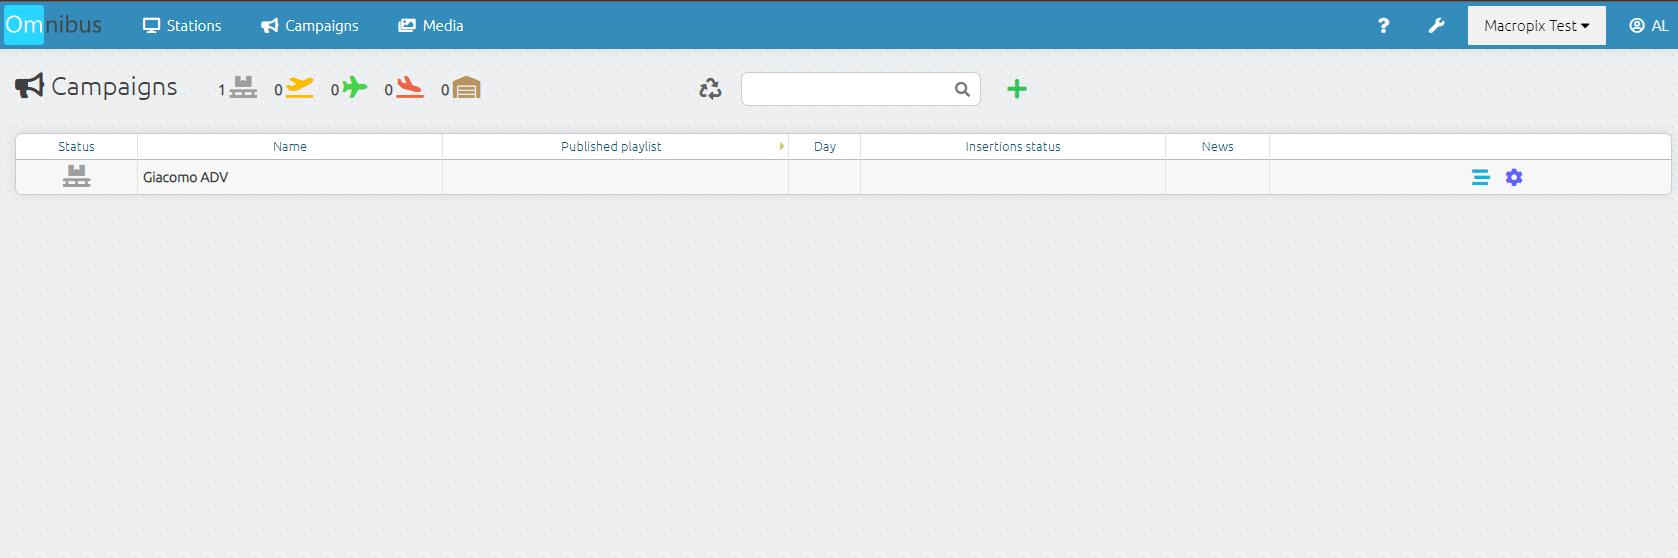
Then enter the Campaigns menu, click the “+” button, and assign a name and initials.
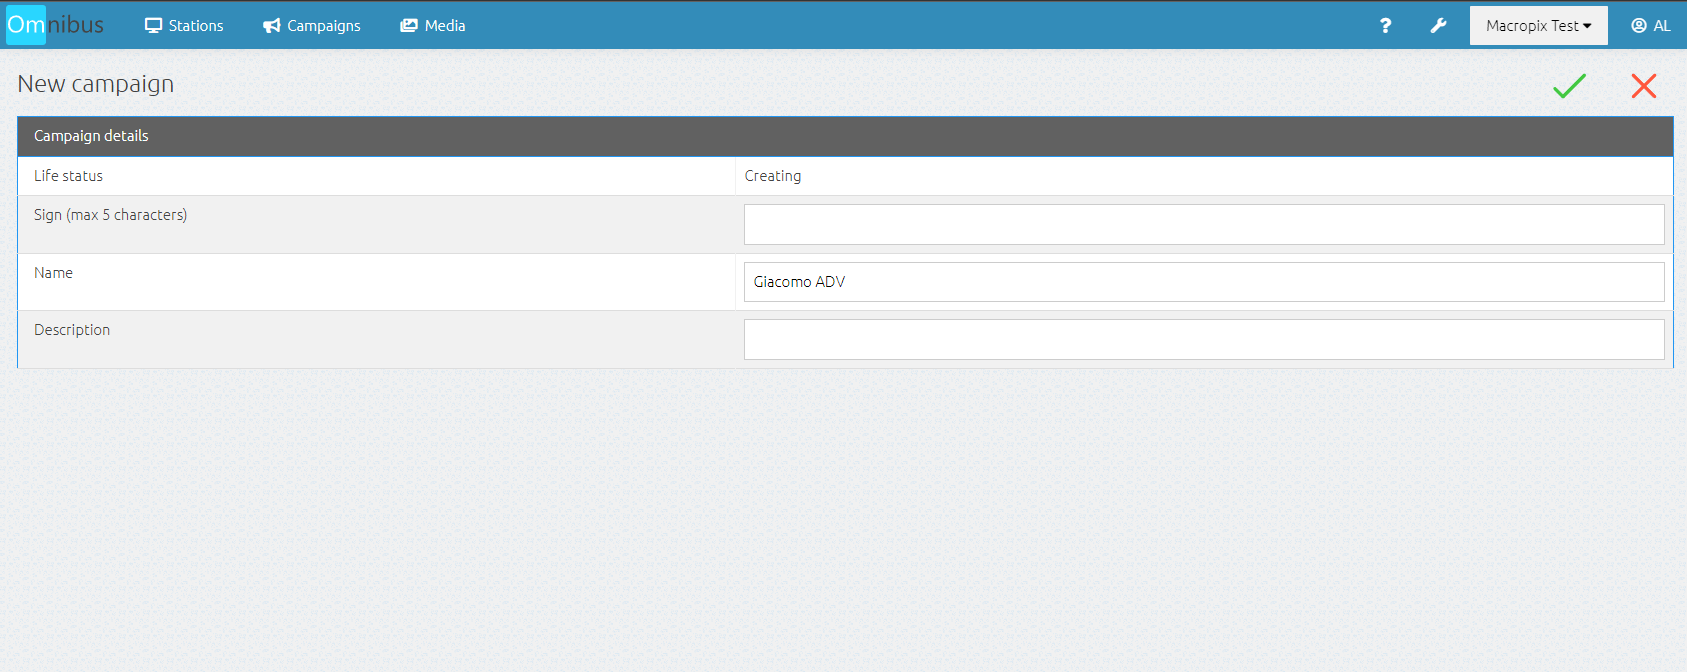
At this point, the campaign has been created and is now ready to be populated with content and published.
Publication
At this point, you need to insert the contents into the campaign playlist.
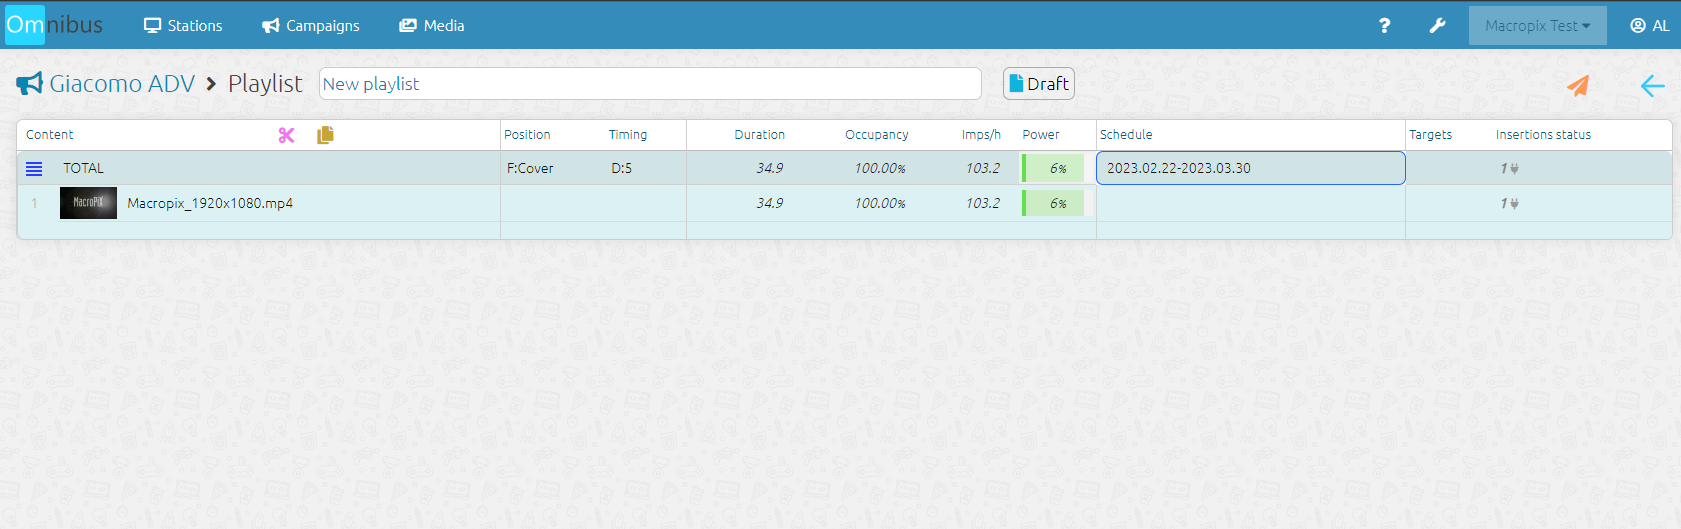
Now all that remains is to publish the campaign by clicking on the  icon.
icon.
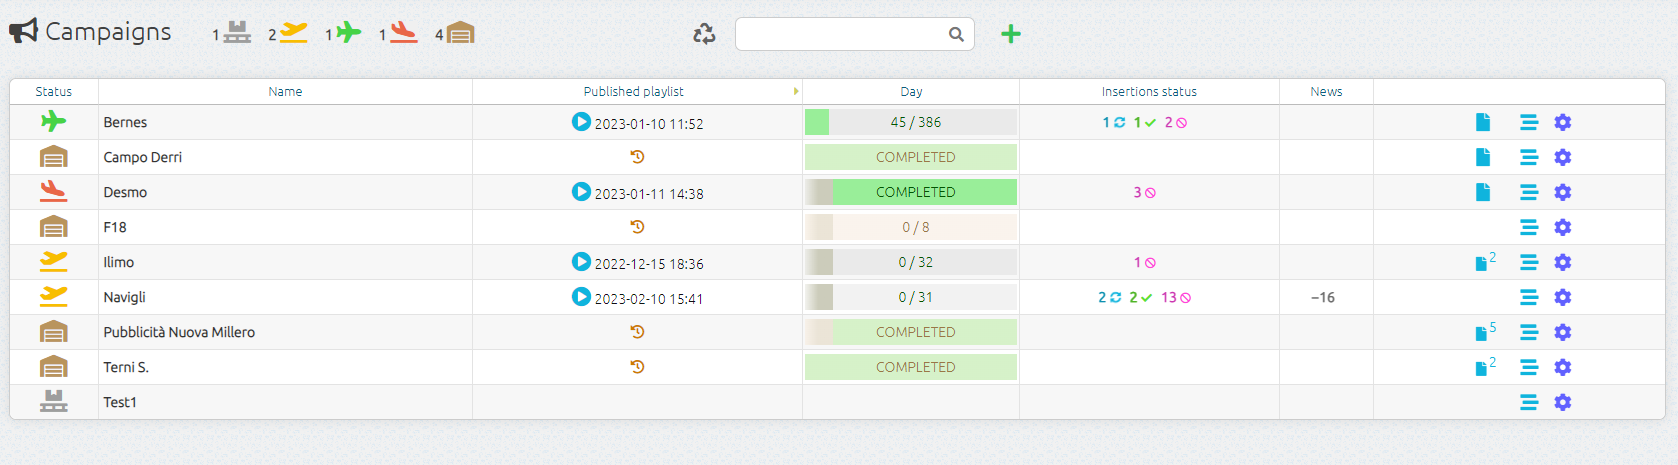
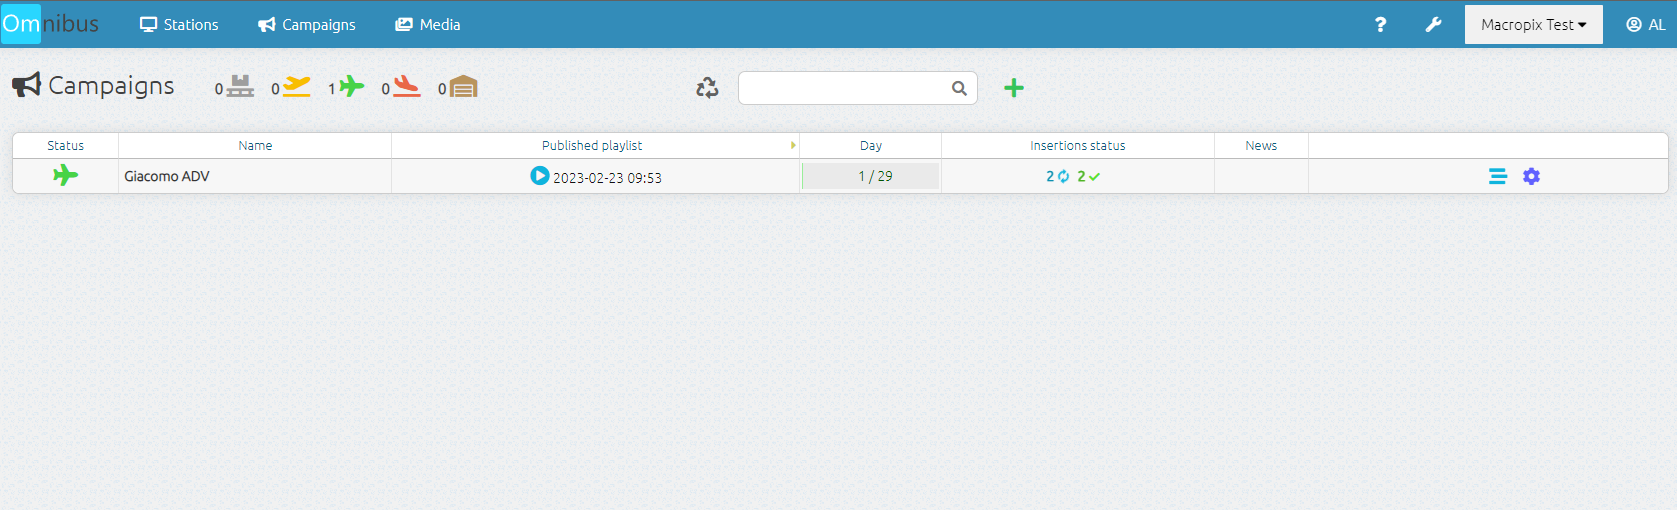
Campaign verification
Once the campaign has been published, you can return to the Campaigns menu to check the publication progress in the Insertions Status column.
By going to the Stations menu, you can verify that the campaign has been correctly distributed, indicated by the pink megaphone icon displayed next to the playlist.

By entering the playlist currently running, you can verify that the campaign has been correctly inserted by the system.
